UPDATE (10/16/2018): Apple has closed my bug report about this as resolved. So hopefully the fix will be out on Mojave 10.14.1
tldr: overwriting a binary blob greater than 100kb will unnecessarily create extra files on each save with CoreData on macOS Mojave (10.14.0)
tldr: overwriting a binary blob greater than 100kb will unnecessarily create extra files on each save with CoreData on macOS Mojave (10.14.0)
Hookay, I was pretty excited to try out macOS Mojave and their dark mode. Instead I found a bug in CoreData
If you'd like to follow along the code, the code is available at my github:
https://github.com/gietal/AppleSandbox/tree/master/CoreData/CoreDataPlayground
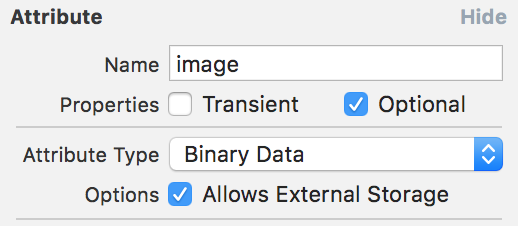
Quick overview of CoreData, it stores your data in a sqlite database which live in your App's "Application Support" folder under ~/Library/<Your app bundle identifier> or ~/Library/Containers/<Your app bundle identifier>/Data/Library for sandboxed apps. You can store different types of data with CoreData such as string, int, float, bool, and even binary blob. When storing binary blob, you have an option to store it on an external storage:
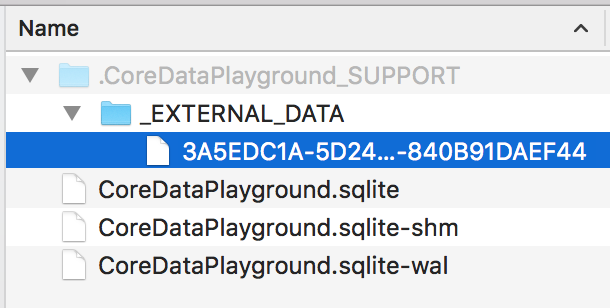
This is useful for bigger binary blob, as it’s less efficient to store and fetch a big binary blob form the sqlite database. If you try to store a big binary blob (bigger than 100kb), and you have that option enabled, CoreData will automatically decide to store your blob into a hidden folder called <Your DB name>_Support/_EXTERNAL_DATA
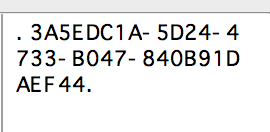
The blob will be stored as a file named with a random UUID, and that UUID is what’s then stored in the sqlite database. You can examine your sqlite database content with DB Browser for SQLite (free from https://sqlitebrowser.org). You can see that the value for my binary blob attribute is the UUID of the file under _EXTERNAL_DATA. This is how CoreData manages your big binary blob.
When you update your binary blob from your code, then the blob file under _EXTERNAL_DATA is also overwritten with the new blob. However, this is not the case in macOS Mojave 10.14.0, which is demonstrated by my sample project
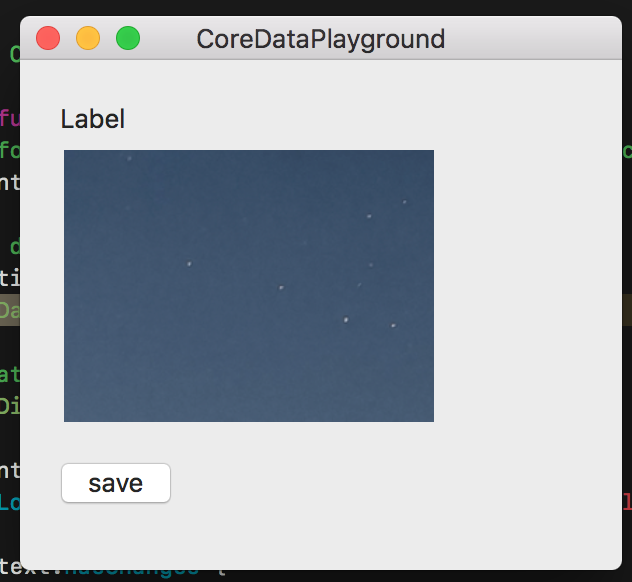
The sample project is quite simple, I have have an Entity with 2 simple attributes: an id (string) and an image (binary blob) with “Allows External Storage” selected. The id is so that I can fetch the same instance of the entity. When you run the app, you will see a window with a save button.
The sample project is quite simple, I have have an Entity with 2 simple attributes: an id (string) and an image (binary blob) with “Allows External Storage” selected. The id is so that I can fetch the same instance of the entity. When you run the app, you will see a window with a save button.
Each time you hit the save button, it will try to save the displayed image as a binary blob to the entity’s instance in the sqlite database. Since the binary blob is greater than 100kb, it will store it under:
~/Library/Containers/com.gietal.sandbox.CoreDataPlayground/Data/Library/Application Support/CoreDataPlayground/.CoreDataPlayground_SUPPORT/_EXTERNAL_DATA
If you hit the save button multiple times, it will try to overwrite the binary blob with the same image every time. Now here’s where the problem lies. On macOS High Sierra (10.13.6) there is no issue with this, the binary blob is overwritten correctly. On macOS Mojave (10.14.0) however, this is not the case.
When you try running the same app on macOS Mojave, and start hitting the save button multiple times, you will observe that a new file keeps getting added under the _EXTERNAL_DATA folder. This is a serious problem as overtime the amount of useless files keep getting piled up inside this hidden folder. Normal non-savvy users would never know how their mac ran out of space so quickly due to this issue.
I submitted this issue to Apple’s Bug Reporter, and they acknowledged that it was a bug and are working on a fix. Hopefully macOS Mojave 10.14.1 come out soon with a fix for this.
A workaround you can do at the moment is to save the entity’s instance with a nil value for the binary attribute, and save it so that CoreData delete the external file. Then, you can save the instance again with the proper binary blob.
// magic functions to get the CoreData context and entity's instance
let context = getContext()
let entity = getEntity()

// nil out the binary blob, so CoreData erases the file in _EXTERNAL_DATA
entity.setValue(nil, forKey: "image")
context.save()

// then actually save your new blob
entity.setValue(blob, forKey: "image")
context.save()



 RSS Feed
